FAQ
FAQ
-
Insect & Rodent Prep, Instructions
Insect & Rodent Pest Control Services
What to Expect & Preparation Instructions for Maximum Success
Before the Service
1. Prepare Your Home & Property
✅ Clean Up Food Sources – Store food in airtight containers, wipe down counters, and avoid leaving pet food or dirty dishes out overnight.
✅ Vacuum & Sweep Floors – Removes crumbs, pests, and eggs to enhance treatment effectiveness.
✅ Take Out Trash & Seal Garbage Cans – Ensure lids are tight and no food waste is exposed.
✅ Declutter Problem Areas – Clear areas where pests hide (e.g., behind appliances, under sinks, basements, garages).
✅ Remove Excess Moisture – Fix leaks and reduce standing water, as insects and rodents thrive in damp areas.
2. Secure Pets & Children’s Items
✅ Keep Pets Away – Remove food/water bowls, bedding, and toys from treated areas. Keep pets in a separate room or outdoors during treatment.
✅ Cover or Store Children’s Toys – Move stuffed animals, playmats, and pacifiers away from treated areas.
✅ Fish Tanks & Cages – Cover aquariums and turn off air pumps during service to prevent contamination.
3. Provide Access to Key Areas
✅ Unlock Gates & Doors – If outdoor or attic areas need treatment, ensure access is available.
✅ Clear Areas Along Walls – Move furniture 1–2 feet away from walls in infested areas so the technician can reach baseboards and entry points.
During the Service
✅ Stay Off Treated Areas – If a spray application is used, remain off treated surfaces until dry (typically 2–4 hours).
✅ Communicate with the Technician – Inform them of problem areas, past pest sightings, or special requests.
✅ Ask About Follow-Up Recommendations – Some treatments may require multiple visits for full effectiveness.
After the Service
1. Allow Time for Treatment to Work
Insects may be more visible at first as they leave hiding places due to the treatment.
Full elimination may take several days to a few weeks, depending on infestation levels.
2. Avoid Heavy Cleaning Immediately
Do NOT mop or wipe treated baseboards, floors, or countertops for at least 24–48 hours.
Light cleaning can resume, but avoid removing pest control barriers.
3. Keep Food & Trash Secure
Store food properly, take out trash regularly, and clean up spills immediately.
4. Monitor for Activity & Seal Entry Points
You may notice dead pests—this is normal. Continue checking problem areas.
Seal cracks, gaps around doors/windows, and fix damaged screens to prevent reinfestation.
5. Follow-Up Treatments (If Needed)
Some infestations (like roaches, bedbugs, and rodents) may require multiple treatments for complete control.
Maintain a clean and dry environment between services to prevent recurrence.
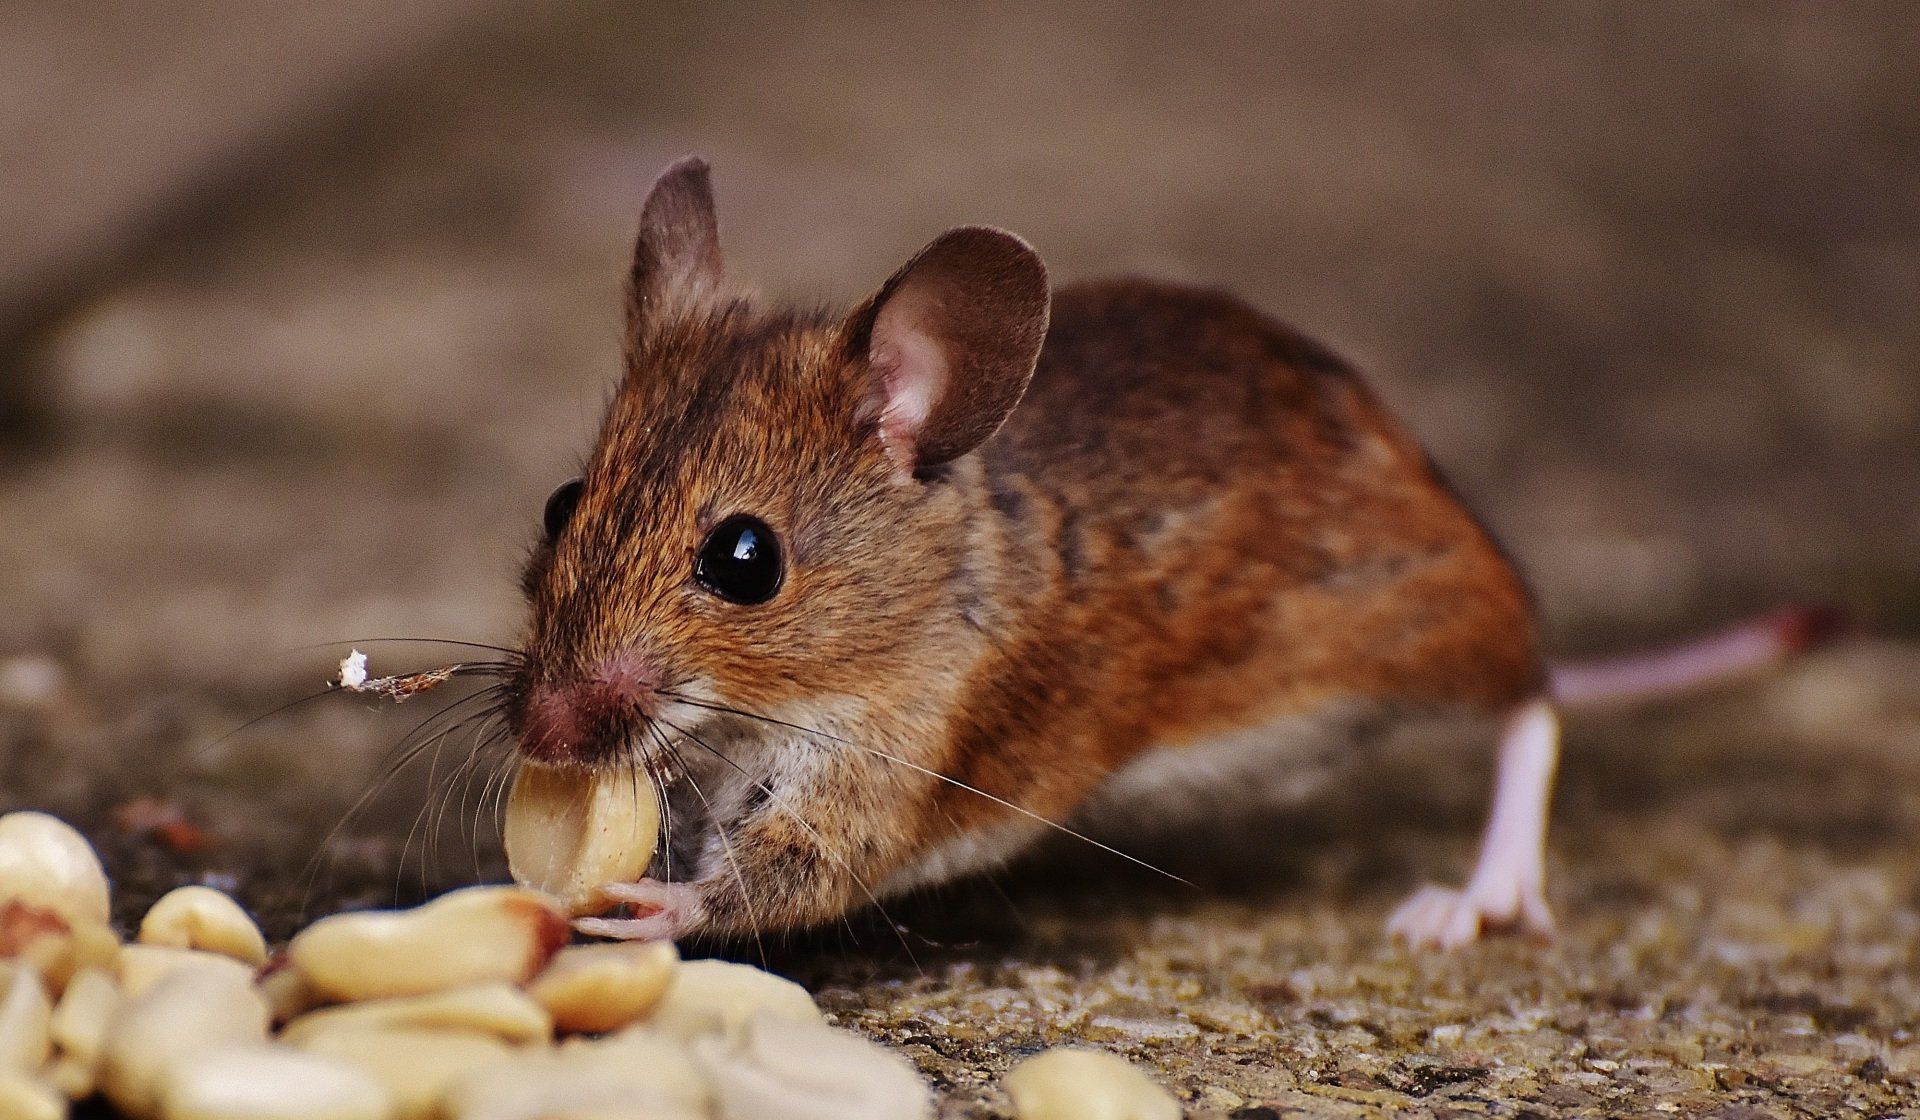
Special Considerations for Rodent Control
✅ Do NOT Move or Disturb Traps – Let the technician handle placement and adjustments.
✅ Monitor for Rodent Droppings or Odors – Report any dead rodents or new activity to your pest control provider.
✅ Keep Garage & Storage Areas Organized – Rodents love cluttered spaces, so keep areas neat and minimize hiding spots.
-
Lawn Care Fertilizer & Weed Block Prep, Instructions
Lawn Care Fertilizer & Weed Block Application Program
What to Expect & Preparation Instructions for Maximum Success
Before the Application
1. Prepare Your Lawn for Treatment
Mow Your Lawn (If Needed) – Mow 2–3 days before the application but avoid mowing the day before or on the day of treatment.
Remove Lawn Debris – Clear leaves, sticks, pet waste, and other debris for even application.
2. Water Your Lawn Properly
If the lawn is dry, water deeply 1 day before the application to help the treatment absorb effectively.
Do not overwater—overly saturated soil can cause runoff and reduce effectiveness.
3. Manage Your Irrigation & Sprinkler System
Turn Off Automatic Sprinklers – Shut down irrigation 12 hours before and keep them off for at least 24 hours after treatment unless instructed otherwise.
Mark Sprinkler Heads & Invisible Fences – This prevents damage and ensures an even application.
4. Keep Pets & People Off the Lawn
Ensure pets and children stay inside or off the lawn during the treatment process.
During the Application
Stay Off the Lawn – Walking on freshly treated grass can disrupt even coverage.
Close Windows & Doors – Helps prevent any drift from entering your home.
Communicate with Your Technician – Let them know of any specific areas of concern, such as excessive weeds or newly seeded areas.
After the Application
1. Watering Instructions for Maximum Effectiveness
Do NOT water for at least 24 hours unless directed otherwise. This allows the weed control to absorb into the plants properly.
After 24–48 hours, follow these watering guidelines:
If no rain is expected, begin a deep watering schedule (about ½ inch to 1 inch of water per session).
Water 2–3 times per week rather than shallow daily watering. Deep watering promotes strong root growth and better absorption of fertilizer.
2. Keep Sprinklers Off for 24–48 Hours
Do not run irrigation systems immediately after treatment—this can wash away the weed control product.
If rainfall occurs within 6 hours of application, additional spot treatment may be necessary.
3. Keep Off the Lawn Until Dry
Allow the treatment to fully dry before walking on the grass—typically 2–4 hours, depending on weather conditions.
4. Delay Mowing for Best Results
Wait at least 48 hours before mowing to avoid disrupting the treatment.
5. Monitor Your Lawn’s Progress
Weeds will start yellowing and wilting within a few days to two weeks. Some stubborn weeds may require follow-up applications.
Fertilizer results can be seen within 7–14 days, promoting greener, thicker grass.
Long-Term Lawn Care for Best Results
✅ Water Deeply & Infrequently – This encourages deep root growth. Avoid shallow, frequent watering.
✅ Keep Mowing at the Right Height – Taller grass (3-4 inches) shades out weeds and promotes stronger roots.
✅ Aerate & Overseed When Needed – Helps improve soil structure and encourages a thick, weed-resistant lawn.
✅ Follow Seasonal Fertilization Plans – Regular feeding strengthens grass and keeps weeds at bay.
While tempting, it's generally not recommended to fertilize and seed at the same time as fertilizer can harm new seeds and disrupt their establishment. It's best to wait until the seeds sprout and the seedlings are established before applying fertilizer, usually 6-8 weeks.
If you have any questions about your lawn care program or need further watering guidance, contact our team. We’re here to help you grow a lush, healthy lawn!
-
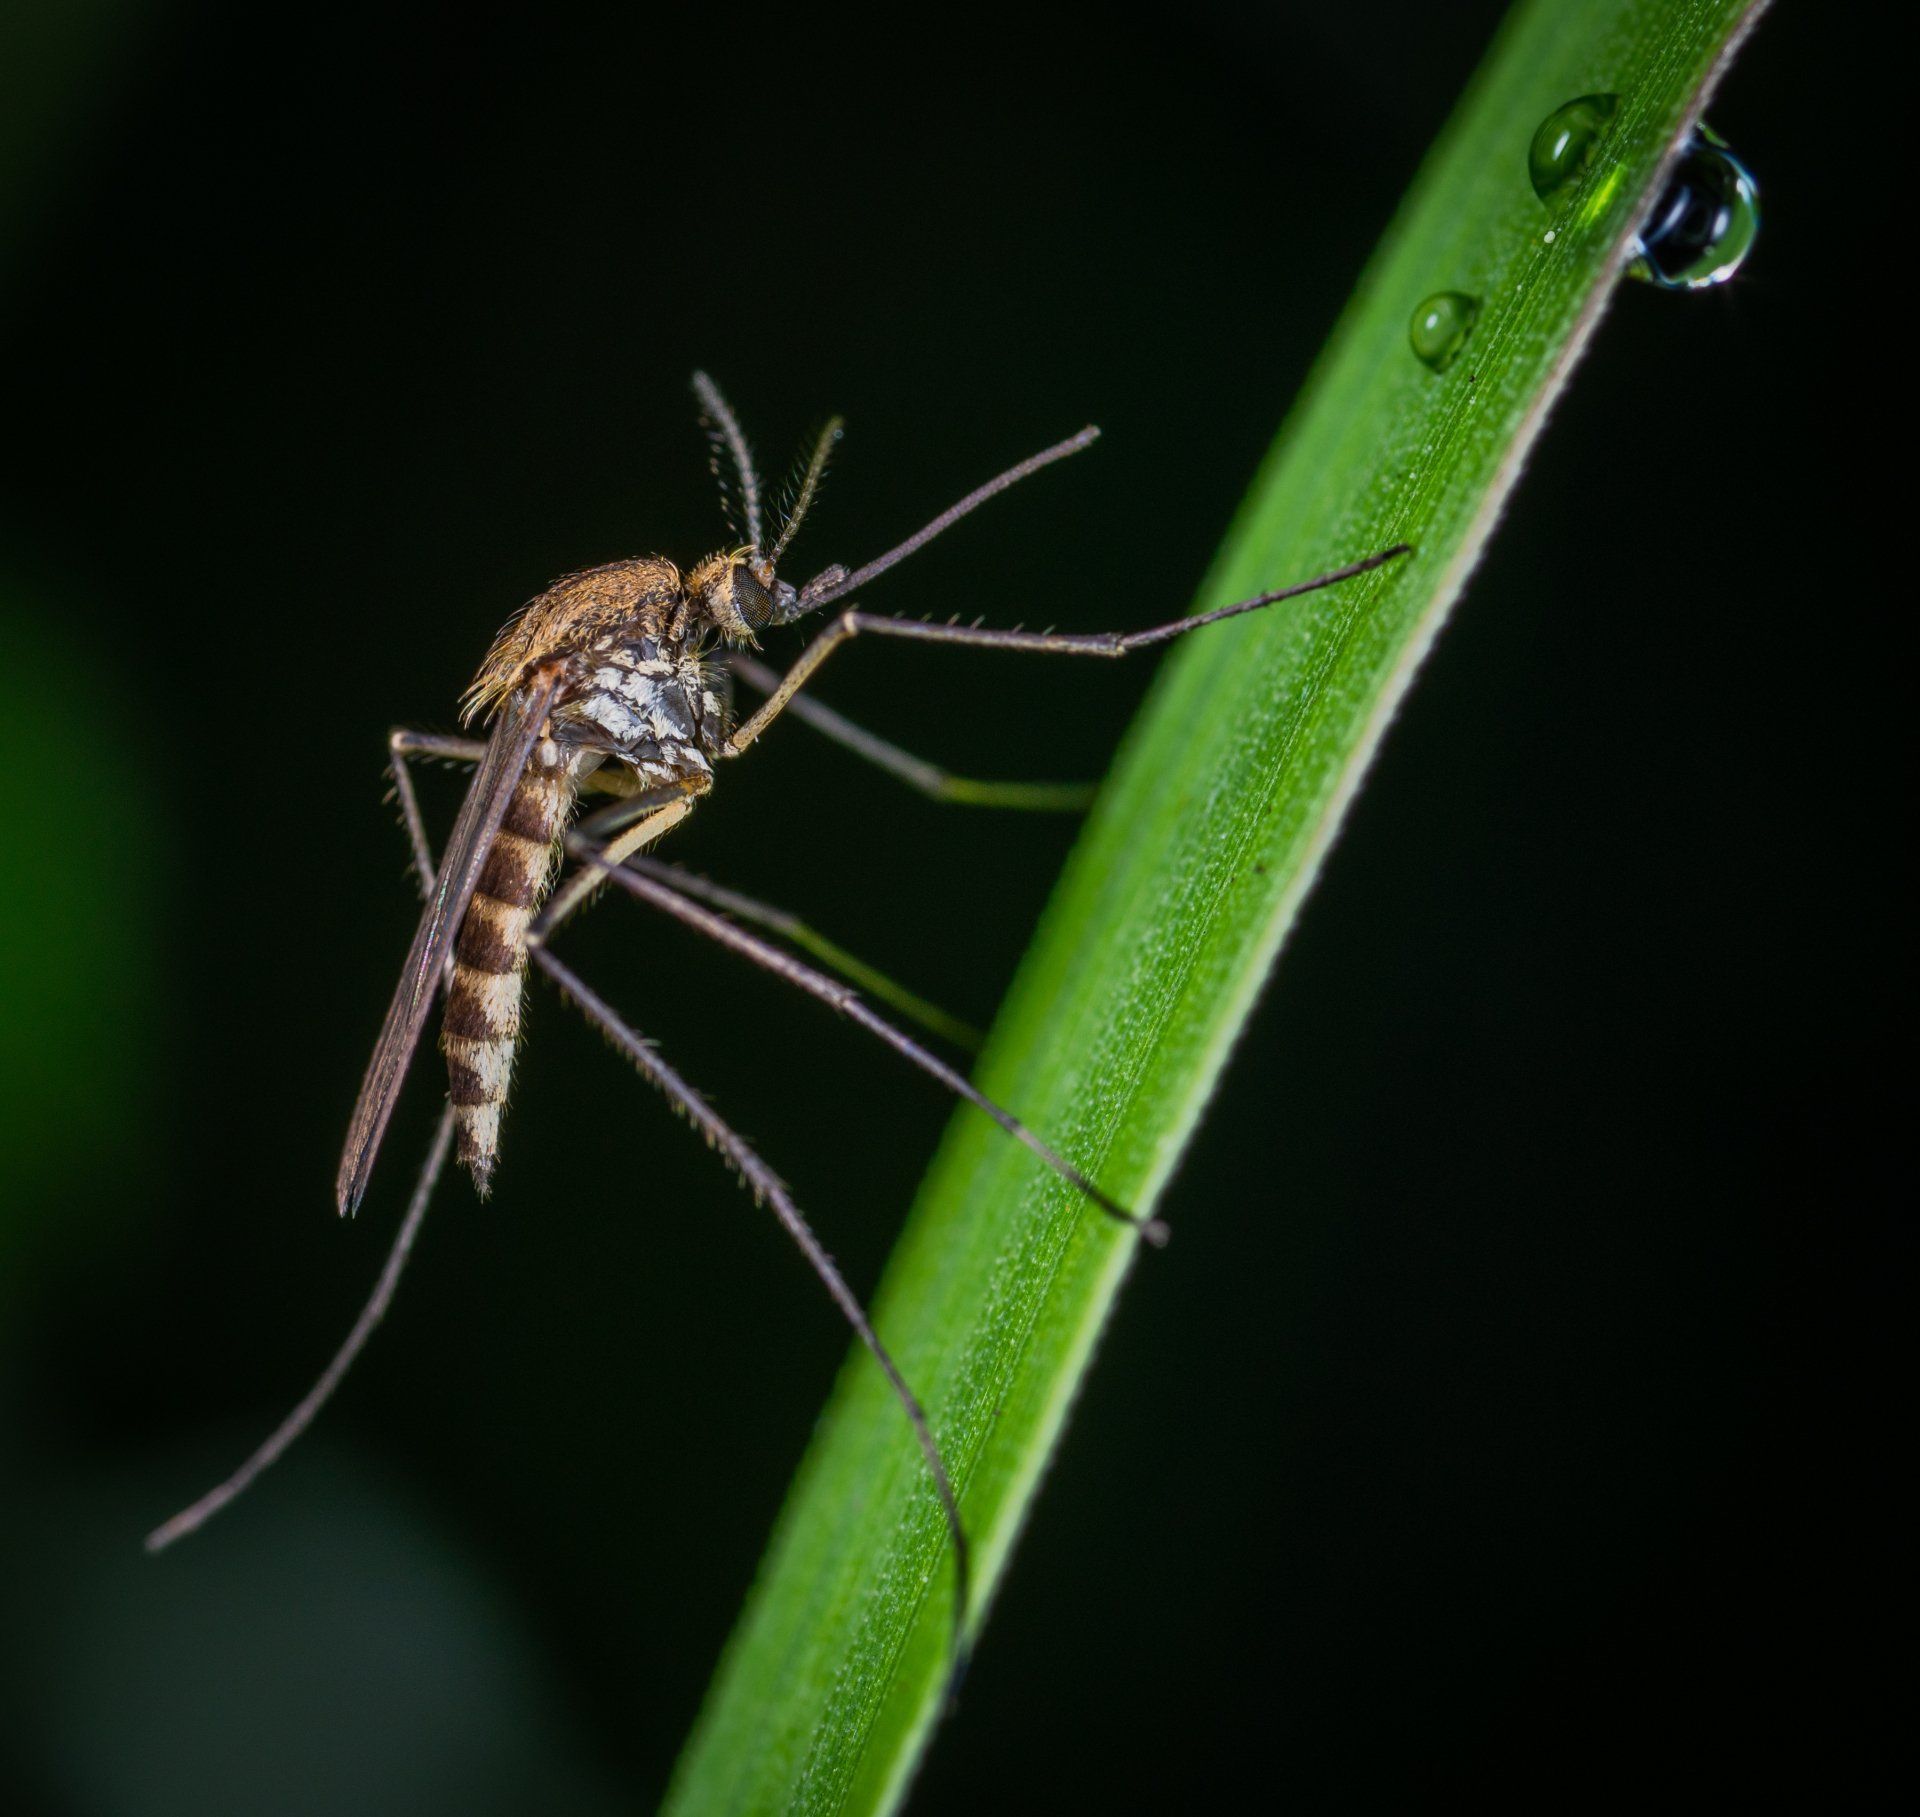
Mosquito & Mayfly Prevention Prep, Instructions
Mosquito & Mayfly Prevention Services
What to Expect & Preparation Instructions for Maximum Success
Before the Service
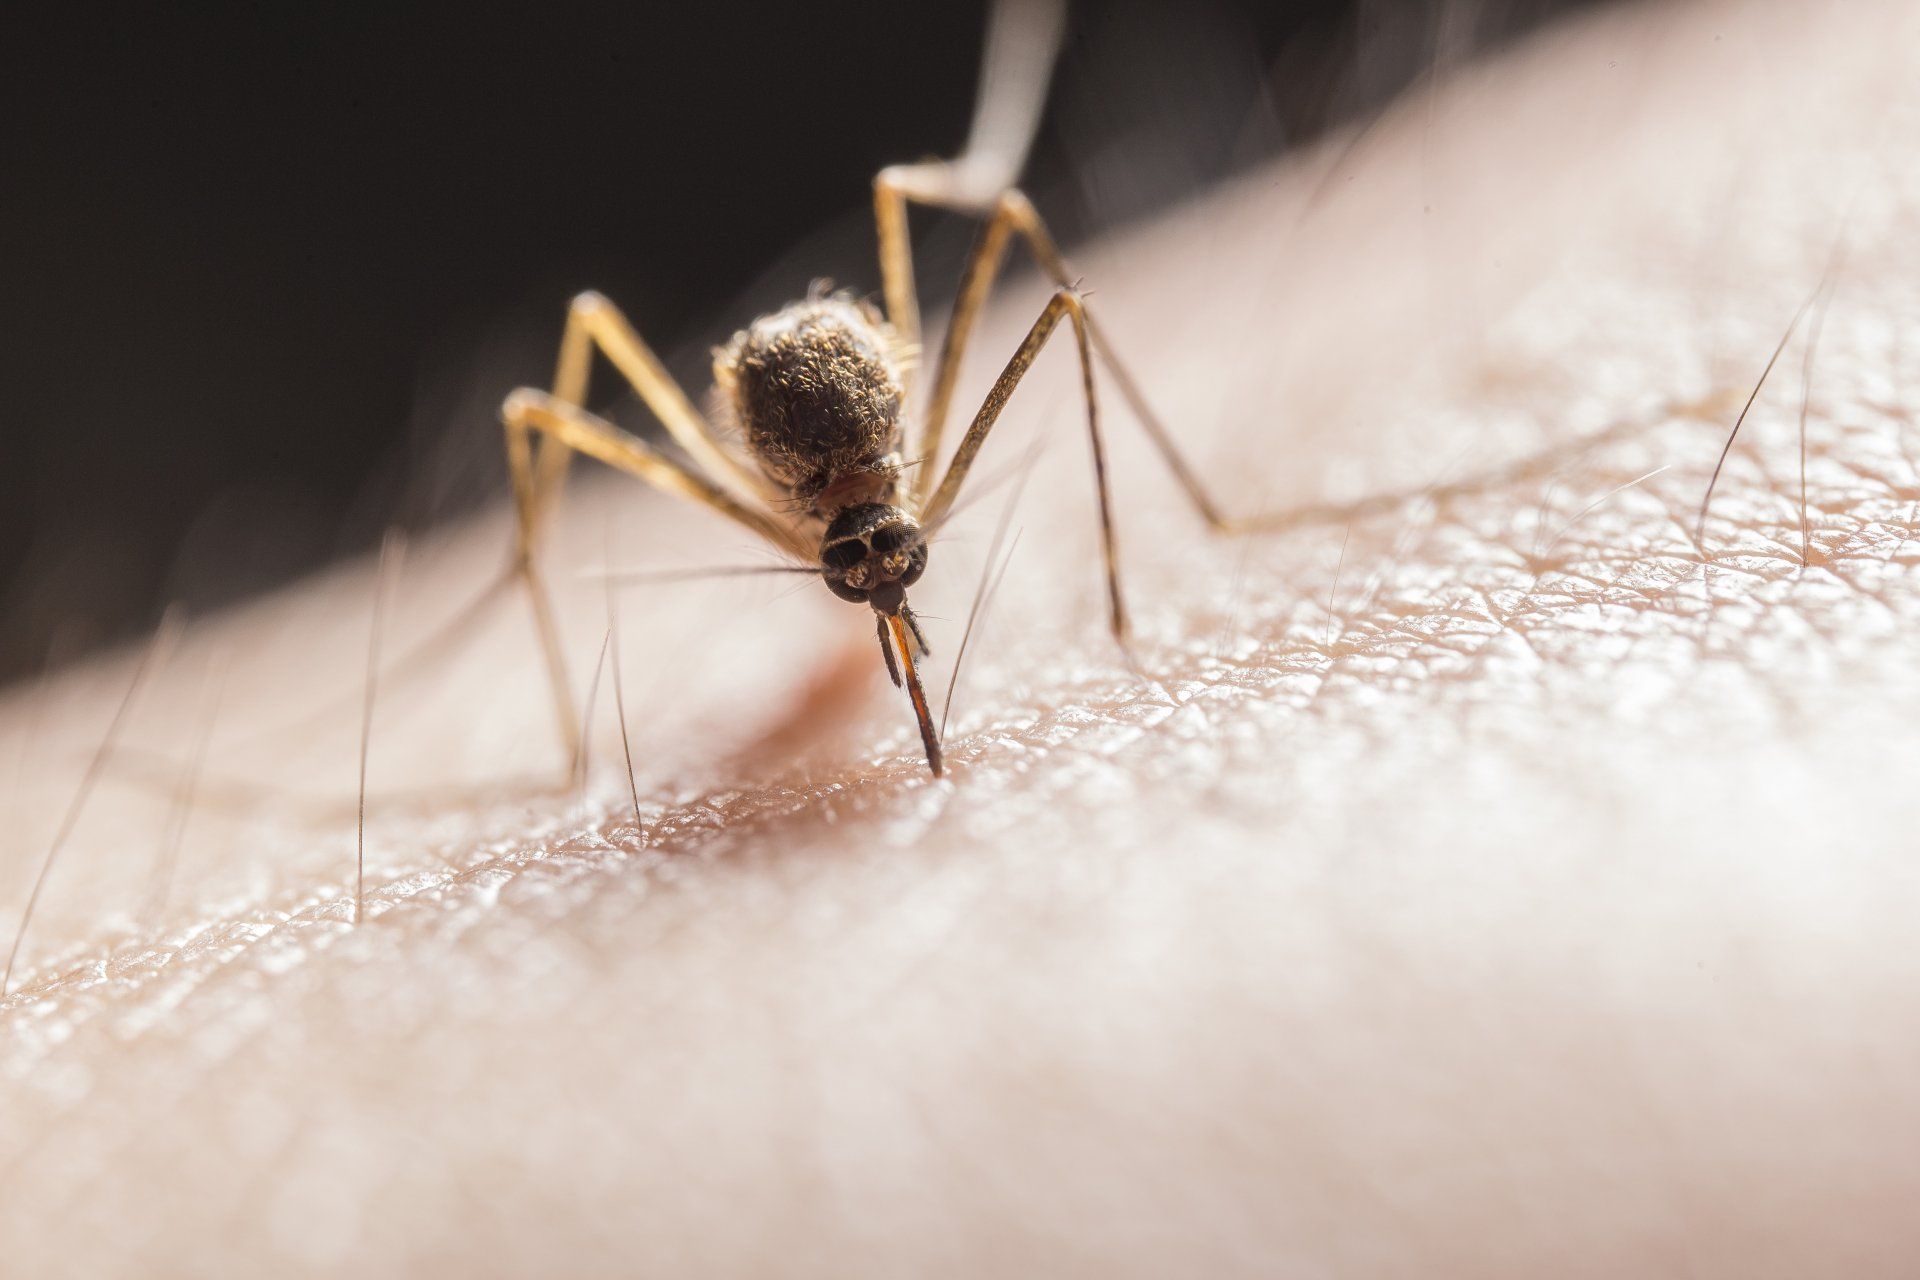
1. Remove or Treat Standing Water (Critical for Mosquito Control!)
✅ Eliminate Standing Water – Dump water from flower pots, buckets, birdbaths, old tires, clogged gutters, and pet bowls. Mosquitoes lay eggs in stagnant water.
✅ Check Low-Lying Areas – Fill in areas of your yard that collect water after rain.
✅ Treat Necessary Water Sources – For ponds, fountains, or rain barrels, use mosquito dunks or larvicides (safe for fish and wildlife).
2. Maintain Your Lawn & Landscaping
✅ Trim Tall Grass & Overgrown Bushes – Mosquitoes hide in shaded, damp areas during the day.
✅ Prune Trees & Shrubs – Helps improve airflow and reduce resting spots for mosquitoes and mayflies.
✅ Remove Leaf Litter & Debris – Decomposing material attracts insects, including mosquitoes.
3. Reduce Outdoor Lighting at Night (For Mayfly Prevention)
✅ Use Yellow or Bug-Resistant Lights – Mayflies are highly attracted to bright white lights.
✅ Turn Off Unnecessary Exterior Lights – Especially during mayfly hatching season, usually in late spring or summer near water sources.
4. Prepare Your Outdoor Living Areas
✅ Move Outdoor Furniture & Toys Away from Treatment Areas – Allows for full coverage of treatment.
✅ Cover or Store Grills & Cooking Equipment – Prevents chemical residue on surfaces.
✅ Close Windows & Doors – Helps prevent drift from entering your home.
5. Secure Pets & Family Members
✅ Keep Pets & Kids Indoors – While the treatment is applied and until it dries (usually 30 minutes to an hour).
✅ Cover Pet Bowls & Remove Food Sources – Reduces attraction of pests post-treatment.
During the Service
✅ Stay Off Treated Areas – Allow the technician to apply treatment without interference.
✅ Inform the Technician of Problem Areas – Let them know about specific trouble spots like shaded areas, standing water sources, or previous infestations.
After the Service
1. Allow Time for the Treatment to Work
Mosquito control treatments reduce, but do not eliminate all mosquitoes immediately—it may take a few days to see the full effect.
Mayflies are seasonal pests, but treatments help discourage them from gathering in large numbers.
2. Keep Water Sources Maintained
Regularly empty or treat standing water every 5–7 days to prevent mosquitoes from laying eggs.
If using birdbaths or pet bowls, refresh the water daily.
3. Continue Yard Maintenance
Mow grass regularly and trim bushes to reduce mosquito hiding spots.
Keep outdoor lights dim to avoid attracting mayflies, especially in lakefront or riverfront areas.
4. Use Additional Protection
Fans on patios & decks help deter mosquitoes since they are weak flyers.
Wear insect repellent (DEET, picaridin, or natural alternatives) when spending time outside, especially during dawn and dusk.
Consider Citronella or Essential Oils – These can provide additional, but limited, repellency.
5. Schedule Regular Treatments for Ongoing Protection
Depending on the season and location, follow-up applications every 3–4 weeks may be necessary for continuous mosquito control.
Need Help?
If you have any questions about the service, need additional treatments, or want to discuss further prevention strategies, contact our team. We’re here to help keep your outdoor spaces comfortable and pest-free!
-
Bed Bug Treatment: Prep, Instructions
Bed Bug Treatment: Customer Instructions & Expectations
What to Expect from the Treatment
Multiple Treatments Will Be Necessary:
Bed bugs are difficult to eliminate, and multiple treatments will be required.
Follow-up visits are scheduled approximately 7-10 days apart.
Chemical and Bait Treatment:
Depending on the method used, your home will be treated with insecticides, bait, or a combination of both.
Possible Odors or Residue:
Some treatments may leave behind a slight odor or residue, which is non-toxic to humans and pets when dry.
Continued Activity:
You may still see bed bugs after the first treatment. This does not mean the treatment was ineffective—eggs and hidden bugs may still emerge.
Before the Treatment: How to Prepare Your Home
Declutter Your Home:
Remove unnecessary items from floors, shelves, and under beds to allow access to treatment areas.
Do not move infested furniture or items to another location, as this can spread the infestation.
Wash and Dry Linens & Clothing:
Wash all bedding, clothing, and fabric items in hot water (at least 120°F).
Dry on the highest heat setting for at least 30 minutes.
Store clean items in sealed plastic bags or containers.
Vacuum Thoroughly:
Vacuum carpets, rugs, furniture, and cracks in floors and walls.
Dispose of the vacuum bag or empty the canister into a sealed plastic bag immediately after use.
Move Furniture Away from Walls:
Pull furniture at least 12 inches away from walls to allow full access for treatment.
Unplug Electronics & Secure Valuables:
Unplug devices and secure personal valuables before the treatment.
Remove Pets & Cover Fish Tanks:
All pets must be removed from the home during treatment.
Fish tanks should be covered, and pumps should be turned off.
After the Treatment: What to Do Next
Allow Treated Areas to Dry:
Do not clean or wipe down treated surfaces for at least 24 hours.
Continue Washing Linens & Clothing:
Regularly wash and dry items on high heat to kill any remaining bed bugs.
Avoid Moving Items in or Out of the Home:
Keep treated items in place to avoid reintroducing bed bugs.
Monitor for Activity:
Continue checking beds, furniture, and baseboards for signs of bed bugs.
Report any activity to your pest control provider.
Schedule Follow-Up Inspections:
Follow-up treatments are essential for complete eradication.
-
Roach Treatment: Prep, Instructions
Roach Treatment: Customer Instructions & Expectations
What to Expect from the Treatment
Multiple Treatments Will Be Necessary:
Cockroach infestations often require multiple treatments for full elimination.
Follow-up visits may be scheduled every 7-14 days, depending on the severity of the infestation.
Types of Treatment Used:
Treatments may include insecticide sprays, baits, dust, and growth regulators.
Some products will have a residual effect, meaning they will continue working over time.
Increased Roach Activity After Treatment:
It is common to see more roach activity in the first few days after treatment.
This happens because roaches are being flushed out of hiding places and exposed to the treatment.
Odors or Residues:
Some insecticides may leave a mild odor or residue, which is safe when dry.
Do not wipe or clean treated areas immediately after service.
Before the Treatment: How to Prepare Your Home
Clean Thoroughly:
Wipe down kitchen counters and clean up food spills.
Vacuum and sweep floors to remove crumbs and debris.
Take out the trash and remove excess clutter, especially cardboard and paper.
Empty Cabinets & Drawers (If Required):
If the infestation is in the kitchen or bathroom, you may be asked to empty cabinets and drawers.
Store kitchen items in sealed plastic bags or containers.
Remove or Cover Food & Dishes:
Store all food in sealed containers or place it in the refrigerator.
Cover or remove pet food and water bowls.
Fix Water Leaks & Remove Moisture:
Roaches thrive in moist environments, so repair any leaking pipes or faucets.
Wipe up excess water in sinks, tubs, and under appliances.
Unplug Appliances & Move Furniture (If Needed):
If roaches are behind appliances (stove, fridge, dishwasher), pull them away from the wall if possible.
Unplug small appliances to allow better access for treatment.
Remove Pets & Cover Fish Tanks:
Pets should be removed from the home or kept in a separate, untreated area.
Cover fish tanks and turn off air pumps.
Leave the Home if Required:
Some treatments may require you to leave the home for a few hours.
Your pest control provider will let you know if this is necessary.
After the Treatment: What to Do Next
Do Not Clean Treated Areas Immediately:
Avoid wiping down baseboards, counters, or floors in treated areas for at least 24-48 hours.
This allows the treatment to work effectively.
Expect to See Roaches for a Few Weeks:
Seeing dead or dying roaches is a sign the treatment is working.
If live roaches are still active after two weeks, additional treatment may be needed.
Continue Good Sanitation Practices:
Keep food sealed and clean up spills quickly.
Take out trash regularly and avoid leaving dirty dishes overnight.
Seal Cracks & Entry Points:
Close gaps around doors, windows, and pipes to prevent re-infestation.
Your pest control professional may recommend specific areas to seal.
Schedule Follow-Up Treatments if Needed:
Depending on the severity, additional treatments may be required.
Follow up as recommended by your pest control provider.
-
What communities does Smart Value Pest Control service?
Smart Value Pest Control services communites in Utah County, Salt Lake County, Davis County, & Weber County in the great state of Utah!
Smart Value services both residential and commercial properties.
-
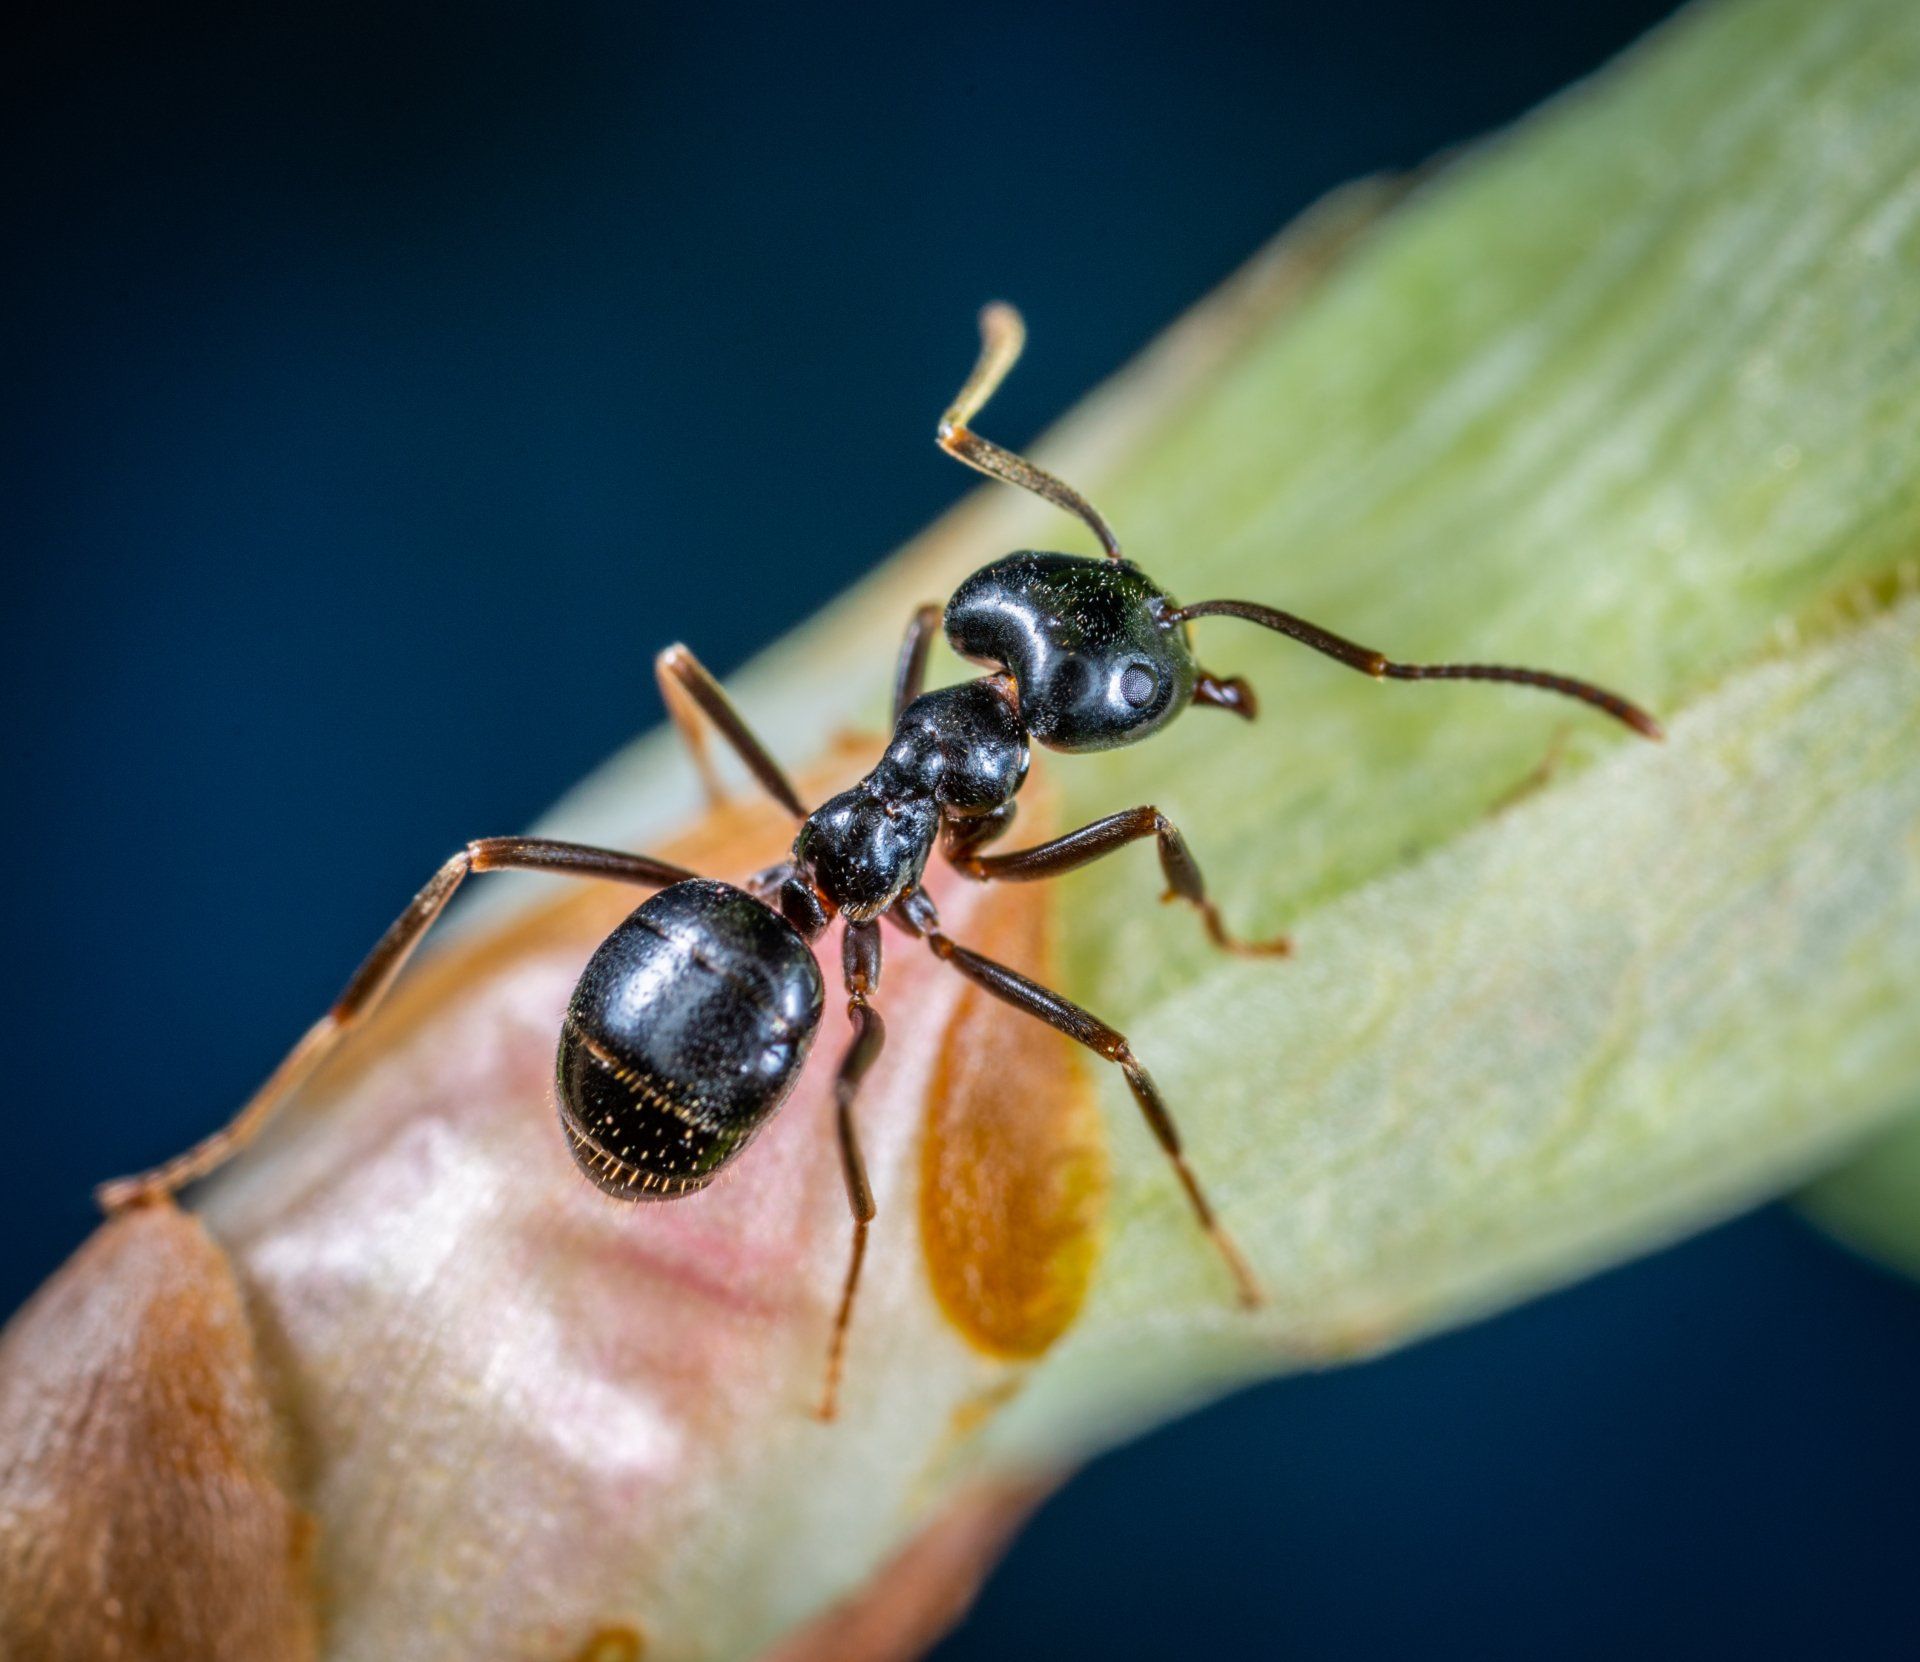
What insects do you cover?
We cover several hundred types of insects. We will inspect the infestation or problem areas and treat accordingly with the correct products to protect your home, family, and assets.
-
What rodents do you cover?
The most common types of rodents in Utah are mice, rats, voles, and gophers. Mice rats, and voles are covered in the service. Gophers are unless there is an infestation beyond repair. Other types of rodents are covered as well; however, we would have to come out and inspect trap bait and create a plan that works for your property.
-
What areas do you treat?
We treat inside your home along baseboards and other areas.
We treat the exterior of your home along foundations, eaves, around window jams, and other problem areas.
We treat transition areas or edges of yard and fence lines on your side of the property.
We will also treat inside and outside of your sheds and garages.
-
What product or chemicals do you use?
We use many different types of products to treat homes. We customize the plan to each home based on the insect and/or rodent activity level of infestation or if it’s just preventive.
We have an all-natural product that we use to treat inside and the outside of your home that works well. If an all green product is of interest, please ask.
-
Is it safe?
The products that we use are all regulated by the Environmental Protection Agency (EPA).
We are licensed and insured to ensure that we are using the proper procedures and that we have controls and systems in place to provide extra layers of checks and balances. That protects you.
-
Is it pet friendly?
Not only is the product pet friendly, it is also applied in a pet friendly manner. Most pet areas will not be sprayed.
-
What is your price for service?
Our price per service average is $79.
We have discounts, rebates and different offers that lower the cost of the product as well. Please ask.
All Rights Reserved | Smart Value Pest Control